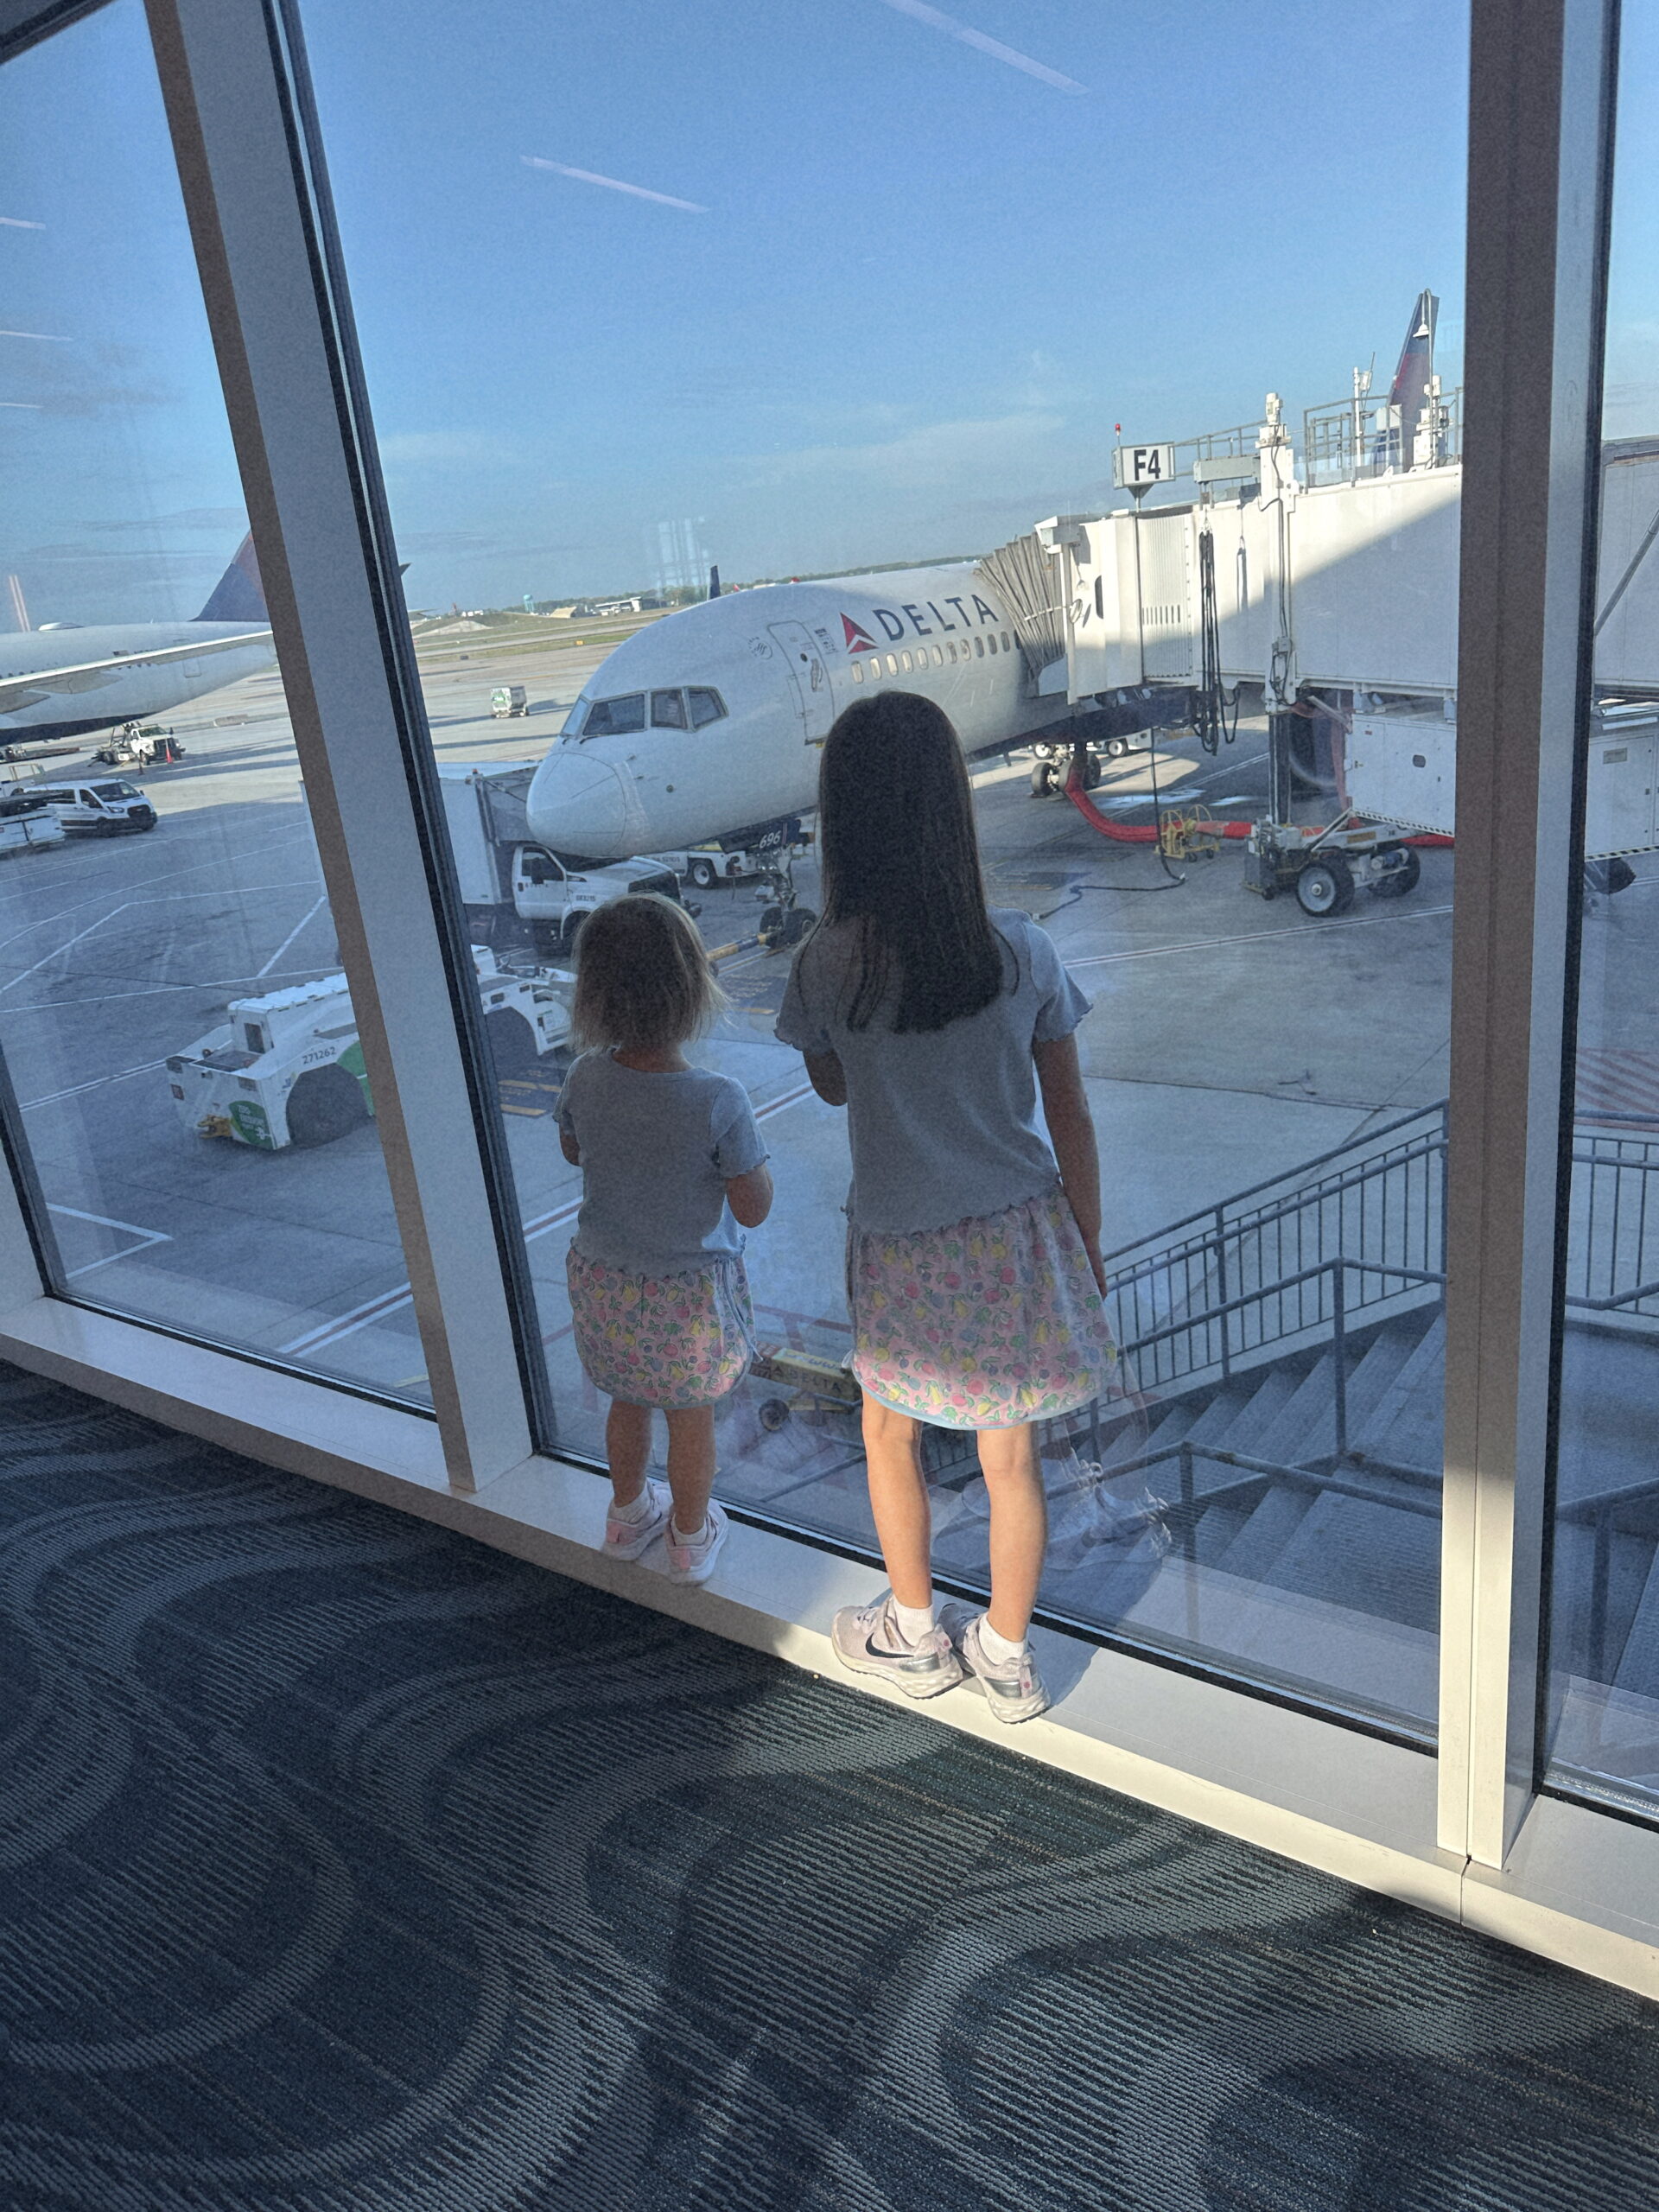
I know traveling can be hard- especially to places like Disney. I'm here to simplify that for you!
Guide to Traveling to Disney with 2 kids
Family
FAVE LINKS
Topics
Margaret
Welcome to my world of style, sunshine, and adventure! I'm thrilled to share my passions, experiences, and fashion finds with you all. As a happily married mom of two with a background in nursing, my life is a beautiful blend of family, career, and selfcare.
Let face it most of us are our best selfs when we are tan! I would love to spend every second of my life soaking up the sun, however, I know that the long term effects do not outweigh the short term gain of being tan for a couple of months, esp when there are so many quality self tanner options out there! I was nervous to dive right into to a do it yourself tanner, so I was going to a tanning salon and getting sprayed pretty much every other week. Two CONS came with this, number one, it was getting super expensive, and the second is it would peel off me and half my body would stay tan and the other half would be discolored and flaking off. NOT CUTE. I clearly had to take matters into my own hands, literally, and bought this….

I think it is wonderful and use it almost everyday, it really makes me feel better about my pale situation and when I was at the beach I sat in the shade a lot and just enjoyed the view because I already had my (fake) tan situation covered lol!
This may see like TMI but I wanted to share my tanning routine in detail. First thing you should know. There are TWO ways you can use this self tanner. The first being that you can apply it and wait until you get to the shade of tan you would like to stay and then shower between the first three hours and you will remain that color. The second is the way I do it, I want all the tan, because I have very olive skin. I shower beforehand and then apply the self tanner, I leave it on all day and shower at night.
This is exactly how I do it!
Prep Your Skin:
My motto behind this is ” do less”. When I got spray tans at salons they would say have no make up on and do not apply lotion to you skin prior to application. I carried this over to my personal self tanning at home. I find it best to apply right after a shower, whether you are showering in the morning or night doesn’t matter, just shower and dry your skin off . I then put on this robe. It is the absolute best because it doesn’t cover you arms so you can move and apply the tanner without having anything sick to you! NOTE — I do need to say for my face, I do my normal skin routine and then let it dry. But arms legs trunk are non lotioned and dry!

Application:
I would say this Mitt makes all the difference. It really helps me get even distribution of tanner and cover all areas thoroughly. I apply two pumps to the mitt, then spread evenly over my legs, getting into my toes and covering my ankles well. TAKE YOUR TIME! This is not something you should do in a hurry because you will for-sure make streaks trying to rush, I know from experience!

I then do a single pump for each arm my neck and chest. This is where this towel wrap really comes in handy, because I just apply it everywhere skin is showing. Now we are at the beach I obviously do my stomach too, but for everyday I do arms, legs, chest and face!
Below is a video of me applying it to my legs, I also shared this on my stories!
IMG_9560— How I apply
Face:
Whew I get a lot of questions about this! Yes I do apply it to my face…. as stated above, I do my normal skin routine prior to application see this post for details on that. It has now had time to dry while I apply the self tanner to my body and now I take one pump and sometimes a HALF of a pump in my hand and rub it in on my face, throughly and completely. I then go to the bathroom and gently rinse my hands with water and soap. I try to not power scrub because then there will be a huge line from my wrist to hand.
This is usually what it looks like, a gradual fade from my arm (which is darker) to my hand. This is ZERO perfect edited!

Drying Process:
This is what I feel like makes the most difference, I put my usual products in my wet hair and then I blow dry my hair along with my entire body. I dry my face, hands, legs and hair. Everything gets good and dry, then I will curl my hair and apply lotion to the rest of my skin.I feel like this seals all the tan in and makes it look like a natural tan! Next, I apply make up to my face. I have not had any issues with it coming off within a couple of days, and remember practice makes perfect.
Make sure you take your time or you will look like this…..hahaha YIKES!

Sorry this was so long, I hope you found it helpful! If you try it this way, let me know!
Xoxo
Mary Margaret
Explore Reader
Follow along
Simply_Darlings
@ Simply Darlings 2024. All Rights Reserved. Design By Sugar Studios | PRIVACY | TERMS
I am a lifestyle creator and influencer that loves serving up daily content- you can call me Mary Margaret. I am here to share my love for affordable yet chic clothing and to help other women navigate the sometimes daunting world of fashion. From casual everyday looks to elegant evening nights out. I want to inspire you to step out of your comfort zone and embrace your style with confidence.


So you apply lotion after the tanner/blow dry?
yes! because I feel like I normally have dried my skin out so much after blow drying it if that makes since!
How do you wash the mitt?
Im not sure let me do some research!